Due to Lot of changes day by day in Blogger.com interface and its features, it comes in my mind I should update this article for providing exact and updated information about how to create blog on blogger.com (blogspot) with new interface and tell you about its best features to get well experience and most out.

Check Out the Best features you should know about blogger.com
Blogger Basics
Launched in 1999, Blogger, Google Service, is a great way to create your own blog to start. Blogger completely free with free hosting.
Blogger is for:To share your thoughts, photos, and more with friends and the world.
Easy to deploy text, images and videos and the Internet or from your mobile phone.
Unlimited resilience to customize your blog with themes, tools, and more. There is also some site which provides online blogging courses from which you will learn complete blogging, how do I blog and start make money from your blog with traffic and the help of SEO (Search Engine Optimization)
How to Create Blog on Blogger (Blogspot) New Interface
Step 1: Sign Up for a Google Account
You will need a Google account to build your own blog on Blogger. If you already have one, you do not need to create a new account, simply follow these steps.
Step 2: Go to Blogger.com then Sign In

How to create blog on blogger new interface
and Insert Your blog URL address in the second field i.e. my-personal-photo .blogspot.com
In last select any theme from the templates section and click on the Create Blog Button.
finally you have created your free blog on blogger and thereafter its take you to Blogger dashboard. check the following screenshot

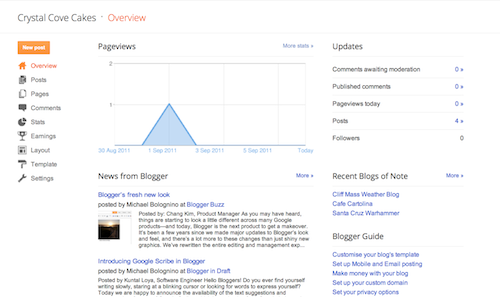
Blogger Dashboard New Interface
Enable Meta Description for Blogger Blog
This is the major issue which is mostly avoided by newbie and they still don’t know what is it. but after lot of changes in Search Engines algorithm and SEO factors this information must be shared with all blogspot user to enable meta description for your blogspot blog and every post.
How to enable meta tags description in blogspot
How to Write Post in Blogger.com
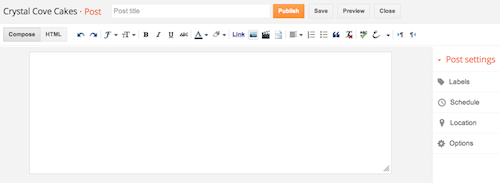
Some newcomers still unaware how to create post in blogger because I have found and notified some blogger are creating pages instead of blog post. Check the above screenshots there is an orange button of New Post click on it and you will see the following page where you have to write your article or any post for your blog.
How to Create Post in Blogger new interface
Creating Writing Tips for Blogging
Add Blog Description
You can easily add or change your Blog title and add brief description for your blog. Check this screenshot
How to Change Blog Title and Description in Blogger
How To Create Page on Blogger
Check the Following Screenshot for creating pages on Blogger Blog.
How to create pages in Blogger
Check Traffic Stats in Blogger Dashboard
For checking blog traffic you don’t have to use third-party tool or any other stats website, Just use your Blogger Dashboard and check all out stats of your blog. Go to Stats tab and check traffic sources, traffic per post, audiences location easily from single click.
How to Check Blogspot Traffic Stats


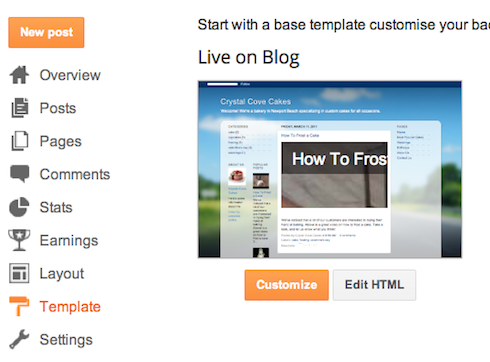 Once on the Template tab, you can either click on the orange Customize button to get started with our easy-to-use WYSIWYG (“What you see is what you get”) template designer, or choose one of our many default templates. If you’d like to edit the HTML of your blog, just click the gray Edit HTML button.
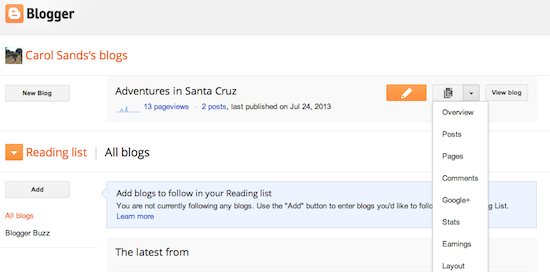


 What Are Domain Names?


 more. However, given that there are over